Let's share cute bunny nail arts with a simple step by step tutorial!!
Hello♥ Nail lovers! How's your weekend?
Mine was pretty well. Over the weekend I tried out a cute bunny nail art and absolutely love it.
Mine was pretty well. Over the weekend I tried out a cute bunny nail art and absolutely love it.
It might look a bit difficult to create but was actually quite simple.
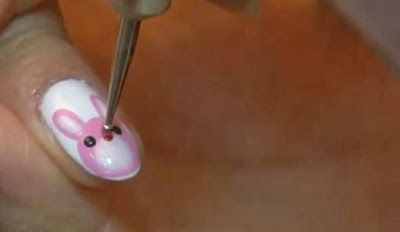
2. Use pink and create a circle to show the bunny shape and ears
With a dotting tool, make a smaller circle in the pink
Use a dotting tool to show its mouth with black and nose with red
Draw white stitch lines along with the bunny shapes
Then lastly, dot red in a nose again. They're just getting so so so so adorable!!

Bunny's trying to say, hello~?
Today I'm going to show you step by step how to create a cute bunny nail.
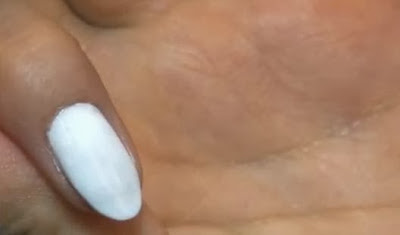
1. First off apply a base coat to all nails, want until dry. And apply White(2 coats)2. Use pink and create a circle to show the bunny shape and ears
With a dotting tool, make a smaller circle in the pink
Use a dotting tool to show its mouth with black and nose with red
Draw white stitch lines along with the bunny shapes
Then lastly, dot red in a nose again. They're just getting so so so so adorable!!
Voilla! The bunny's done!
Would you try this? What do you think of this nail art? Let me know!
I hope you enjoyed my bunny nail tutorial!


귀여워요!
답글삭제Thank you! XD
삭제